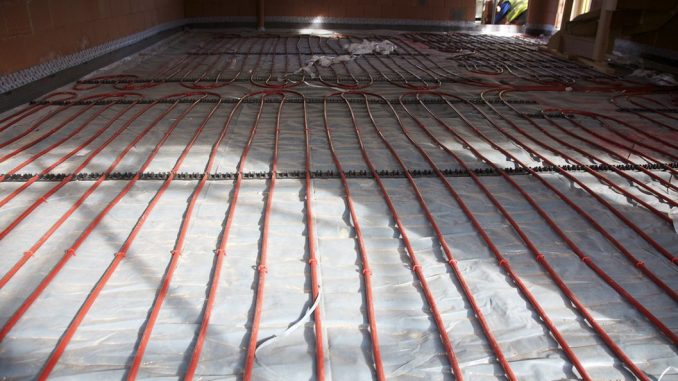
Underfloor heating is a wonderful invention until something goes wrong with the system and it leads to a mad panic about repair – especially when that something wrong happens to be a leaking pipe.
Leaking pipes are bad news at the best of times, but when they are located beneath a floor then they become even more challenging. An unrepaired leaking underground pipe can cause significant water damage to large areas of flooring and lead to issues with the structural stability of a building.
Being able to identify and then fix a leaking underfloor heating pipe quickly and easily protects your home and allows you to get the system up and running again before too much damage is wreaked. Here is how to perform an underfloor heating pipe repair.
Identifying an underfloor heating leak
If you suspect that you have an underfloor heating pipe leak through visual evidence, underperformance or another sign, then the first step to take is to check that the leak is coming from the system.
Many people assume that if they have a leak under their floor and an underfloor heating system is present, then it must be the source of the problem. This however is not always the case; it could be a hot or cold service pipe which is leaking.
A drastic loss of pressure in the underfloor heating system is the most common indicator of a leak. Carrying out a pressure test on each zone separately helps to identify if there is a problem in your installation and where the leaking pipe is located.
Once you have confirmed that the underfloor heating system is responsible for the leak and where the leak area is, then you can set about carrying out a repair.
Sealing a leaking underfloor heating pipe
Sealing a leaking underfloor heating pipe is relatively straightforward – the hardest part of the application is often gaining access.
Pinpointing the location of the leak to as accurate a degree as possible is pivotal. If you can find the exact leak point, then you can minimise the amount of floor which needs to be removed to access the pipe.
After reaching the pipe, there are two main repair options for sealing the leak – epoxy putty or a self-amalgamating waterproof pipe repair tape. Which is used will depend upon the complexity of the repair.
If the pipe is surrounded by enough room so that it might be wrapped, then a pipe repair tape made from self-fusing silicone such as Wrap & Seal Pipe Burst Tape provides a high-pressure repair capable of resisting temperatures up to 250℃.
Self-fusing silicone tape is easy to use and can be applied in under 30 minutes. You anchor the tape next to the leak area and stretch it by as much as possible, wrapping it around the pipe.
In Wrap & Seal’s case, it can be stretched by 300 percent for maximum tension. As you wrap over the pipe, the tape will fuse into a solid rubber band, completely sealing the leak.
Should there be insufficient space in which to effectively stretch and apply Wrap & Seal, then an epoxy putty should be used instead. Epoxy putty is made up of two soft parts; when these parts are mixed together, a chemical reaction takes place to create a material harder than steel.
For underfloor heating pipe repair, an epoxy putty stick is the most convenient product for the job. Sticks supply the two parts pre-formatted. To use, you simply cut off the amount of putty required and knead by hand to instigate the reaction.
Whilst the putty is still soft, it can be pushed into the hole in the pipe, filling the damaged area. Repair time is dependent on the formulation of the putty being used, although most will have hardened to provide a functional cure within an hour.
Protecting an underfloor heating pipe
Once the leak on the underfloor heating pipe has been sealed, the repair can be reinforced using a composite pipe repair bandage such as SylWrap HD.
Applying a bandage over the top of the initial repair provides an impact-resistant layer of protection from future damage. Bandages are resin-infused and water-activated. After being doused with water, the bandage is wrapped around the pipe and smoothed down, curing to form a rock hard shell.
Although this step of the repair is not necessary to seal the leak, if you have gone to the trouble of removing flooring to reach the pipe then you may as well protect the system further.
A composite bandage lessens the probability of problems occurring down the line, reducing the chances of having to access that section of pipework again in the future.

Leave a Reply